How to Protect an Excel Workbook’s Structure
Written by
Reviewed by
This tutorial demonstrates how to protect the structure of a workbook in Excel.
Protect Workbook Structure
Protect From the Ribbon
- In the Ribbon, select Review > Protect Workbook.

- If required, you can enter in a password. Try and make this as complicated as possible.
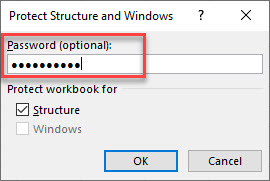
Note: Protect Windows is no longer supported in the newer versions of Excel.
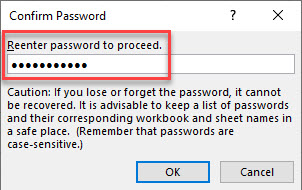
- If you have entered a password, click OK, and then reenter the password.
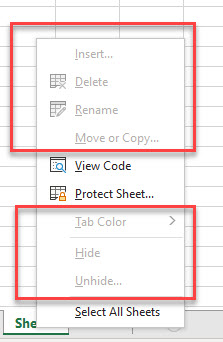
Your workbook structure is now protected. You will not be able to insert, delete, rename, move, or copy sheets. You also will not be able to change the tab color or hide and unhide sheets.
Protect From Backstage View
- In the Ribbon, click File > Info > Protect Workbook.
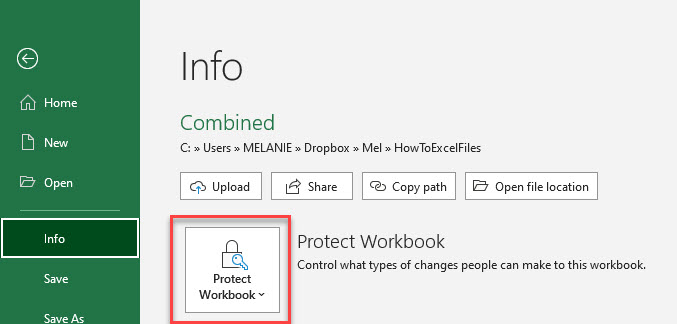
- Select Protect Workbook Structure.
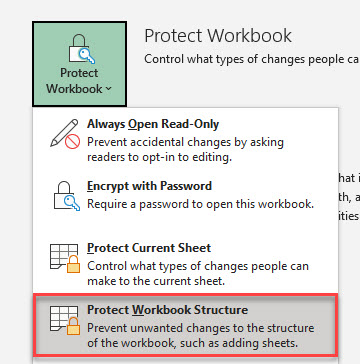
You can now enter your password if required and click OK to protect the structure of the workbook.
Protect Google Sheets Workbook
You cannot protect the structure of a Google Sheets workbook as it is done in Excel, but you can add some security in place to individual sheets and ranges.
You can prevent someone from editing the contents of a sheet or range of cells by protecting sheets or ranges.
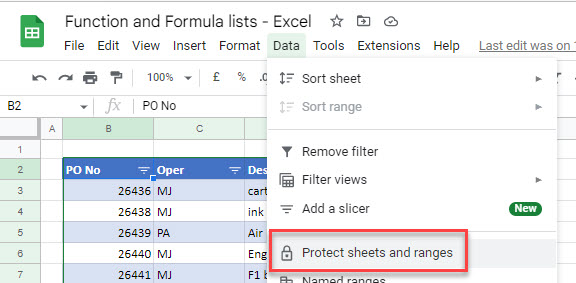
- In the Menu, select Data > Protect sheets and ranges.
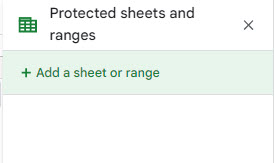
- Click Add a sheet or range.
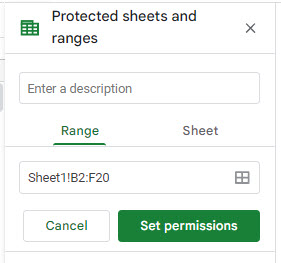
- Select the range you require and then click Set permissions.
- You can either restrict the editing to certain users, or you can select to just show a warning when the protected range (or sheet if you have selected to protect the entire sheet) is edited by anybody.
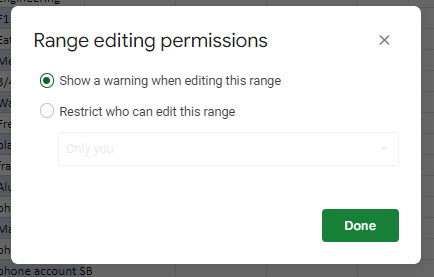
- If you do, and then edit the range of cells, you get a warning message!
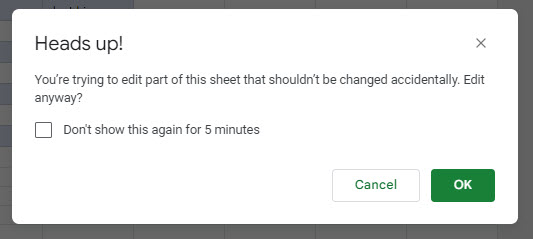
Note that adding sheet protection to a Google Sheets file can prevent the user from deleting the sheet, renaming the sheet, or changing the tab color, but it will not prevent the user from copying the sheet within that file or to a new file, or inserting any new sheets into the Google workbook.

