How to Insert a SmartArt Graphic in Excel
Written by
Reviewed by
Last updated on April 22, 2023
This tutorial demonstrates how to insert SmartArt in Excel.
Insert a SmartArt Graphic
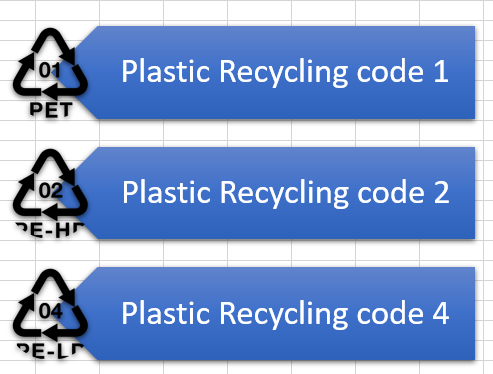
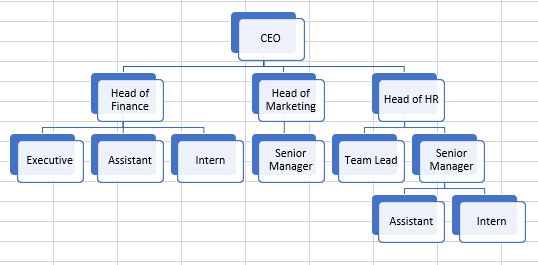
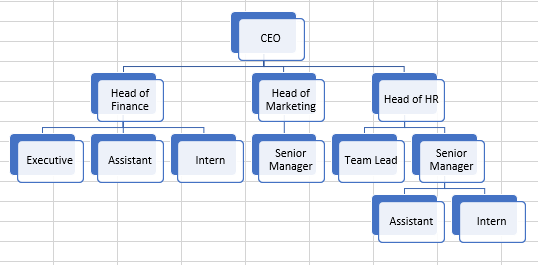
With SmartArt, you can easily add diagrams, visual lists, and captioned pictures to your worksheet. These come in a variety of different layouts, colors, styles, and arrangements.
- In the Ribbon, go to Insert > SmartArt (from the Illustrations group).

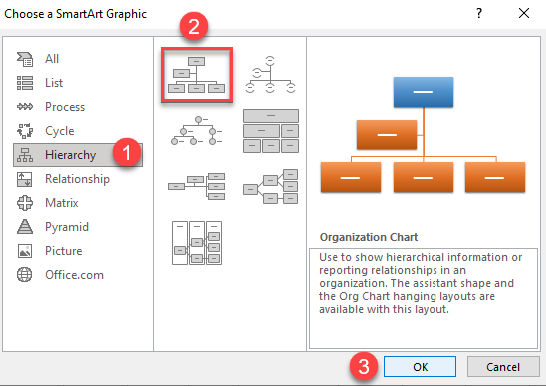
- This brings up the Choose a SmartArt Graphic dialog box. From the menu on the left side, choose a graphic category (e.g., Hierarchy). Then choose the chart type. Click OK when you’re satisfied with the image.
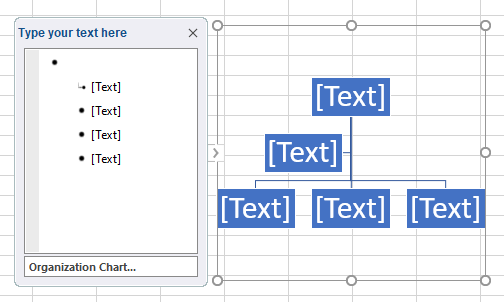
- The basic structure of the list, diagram, or picture is inserted with [Text] placeholders. In those, you can insert titles, descriptions, captions, and/or pictures by clicking on them. (In this example, it’s a diagram with titles.)
- In the Ribbon, the SmartArt Design tab appears with Layouts and SmartArt Styles based on the specific type of SmartArt graphic chosen. Modify the SmartArt graphic to fit your needs.

NOTE: If the style of your SmartArt list or diagram comes with more sections than you need, delete any unused graphics by clicking to select and then pressing DELETE.
Insert a SmartArt Picture
- In the Ribbon, go to Insert SmartArt (from the Illustrations group).

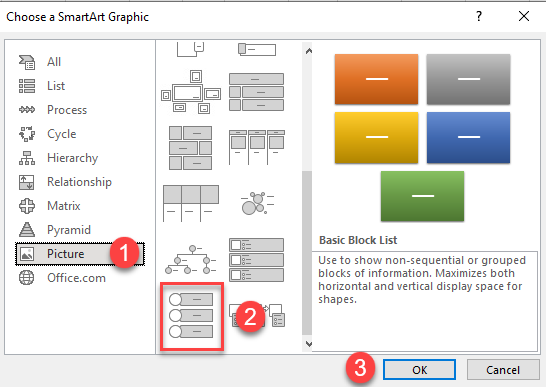
- This opens a Choose a SmartArt Graphic window. Click Picture and choose a picture layout. Click OK.
- The basic structure of the picture is inserted with [Text] placeholders.
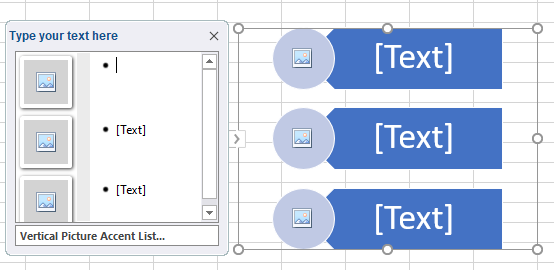
- To change certain features of the SmartArt picture, go to the Ribbon and the SmartArt Design tab.

- Click on the picture icon to bring up the Insert Pictures window. Choose the source for your picture. For this example, click From a File to get the picture from your computer.
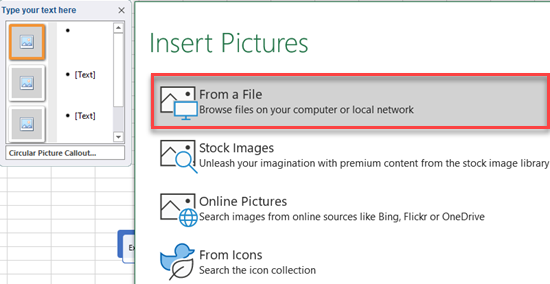
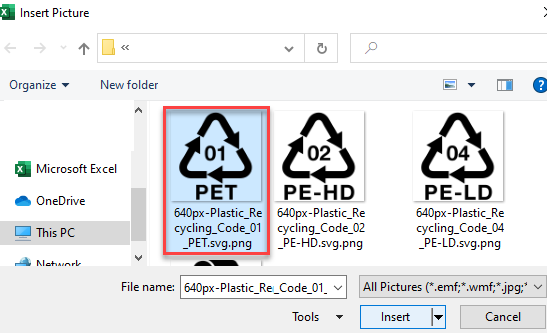
- The Browse window comes up. Select the picture you want and click Insert.
The result is a SmartArt picture in your worksheet.
