How to Delete and Shift Cells Up in Excel & Google Sheets
Written by
Reviewed by
Last updated on December 9, 2022
This tutorial demonstrates how to shift cells up after deleting in Excel and Google Sheets.
Delete and Shift Remaining Cells Up
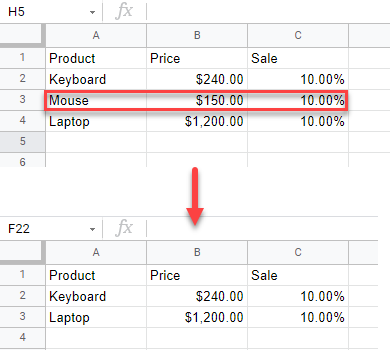
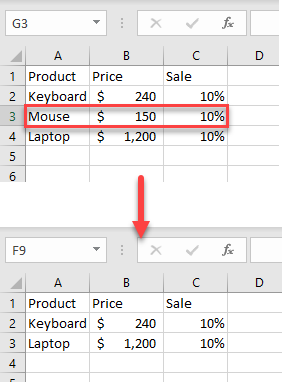
Say you want to delete a certain data range (in this example A3:C3) and move adjacent cells up after that.
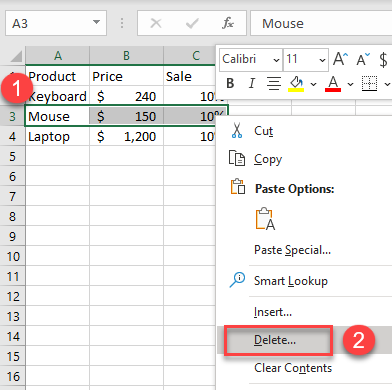
- First, select the cells you want to delete, then right-click. In the drop-down menu, choose Delete… (or use the CTRL + – shortcut).
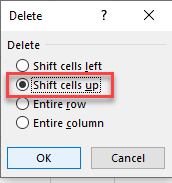
- The Delete dialog window opens. Click on Shift cells up, and then OK.
As a result, the selected cells are deleted and the cell from below is shifted up.
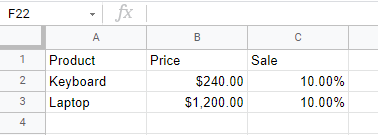
Note: When you delete an entire row, Excel automatically shifts cells up. For an entire column, it shifts cells left.
Delete and Shift Cells Up in Google Sheets
To delete a certain range (here, A3:C3) and to move the adjacent cells from below up, follow these steps:
- First, select the cells you want to delete, then right-click.
- From the drop-down menu choose Delete cells.
- Then click on Shift up.
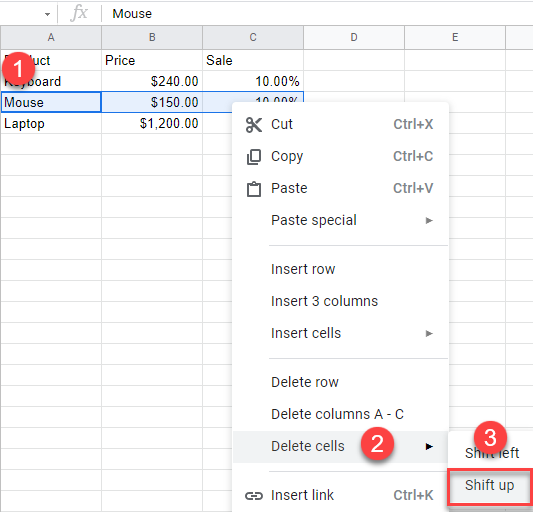
As a result, the selected cells are deleted, and the cell from below are shifted up.
