Data Validation Based on Another Cell in Excel & Google Sheets
Written by
Reviewed by
Last updated on August 16, 2022
This tutorial will demonstrate how to apply data validation so that data entry is only allowed based on the value of another cell in Excel and Google Sheets.

When entering values in Excel, you can restrict the data that is entered into any cells in a range based on text or a value held in another cell.
Custom Formula for Data Validation
Since the data validation rule is based on another cell, you need to use Data Validation with a custom formula.
- First, highlight the cells to include in the data validation range.
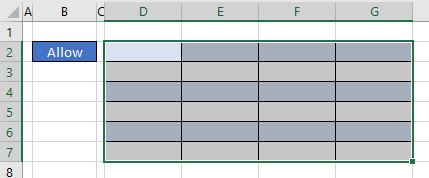
- In the Ribbon, select Data > Data Tools > Data Validation.

- In the Allow drop-down box, select Custom, then remove the check from the Ignore blank check box. In the Formula box type:
=$B$2="Allow"
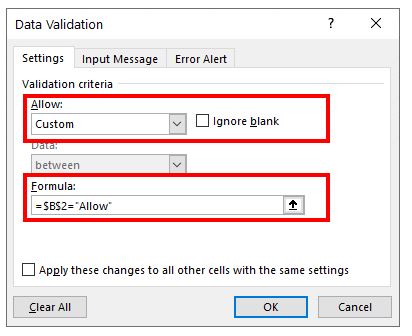
- Click OK.
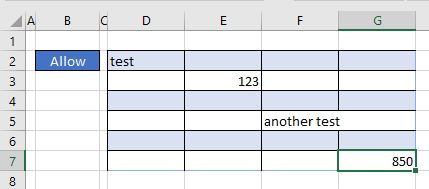
To test the validation, remove the word Allow from cell B2 and then try to type in one of the cells in the data validation range. An error will occur.

- However, if you type the word Allow in B2, and then type in any of the cells included in the data validation range, can enter any value or text into that range.
Data Validation Based on Another Cell in Google Sheets
Data Validation based on another cell in Google Sheets works much the same as it does in Excel.
- In Google Sheets, highlight the cells to included in the restricted range and then in the Menu, select Data > Data validation.
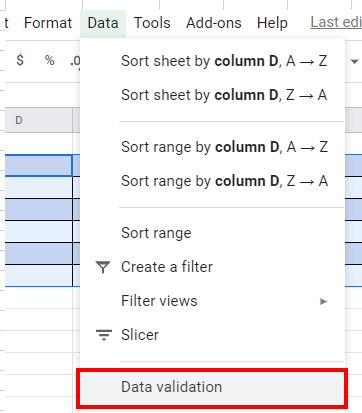
The Cell range is already selected.
- For the Criteria, select Custom formula is from the drop-down list, and then type the formula:
=$B$2="Allow"
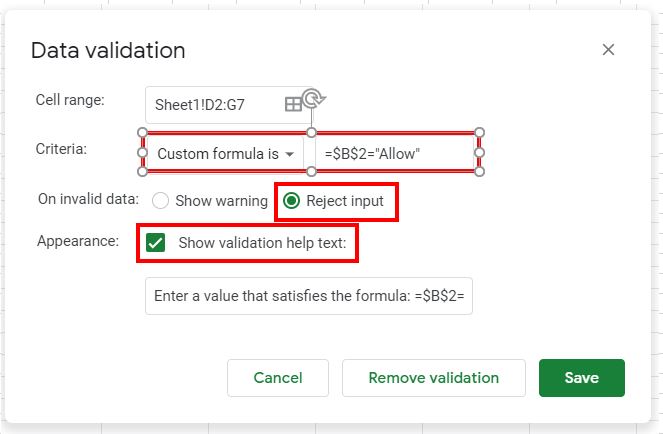
- Click the Reject Input button (so invalid data cannot be entered), and ensure that the Show validation help text check box is ticked. Click Save to save the data validation.
- Select any cell within the data validation range to type text into and test the validation. If you do not have the word Allow in cell B2 then and error will occur.

- Type the word Allow into B2 to allow entry into the data validation range of cells.


