How to Create a Cover Page in Excel
Written by
Reviewed by
Last updated on May 28, 2023
This tutorial demonstrates how to create a cover page in Excel.
Create Cover Page in Excel
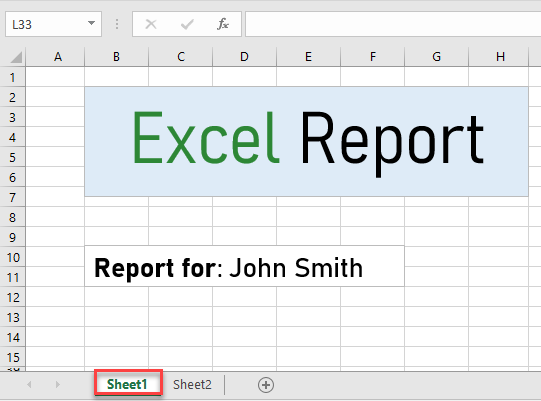
The cover page is a great way to make your workbook more organized by putting all the general information on it. In Excel, there is no direct way to add a cover page but there is a workaround. To set a cover page just follow these steps:
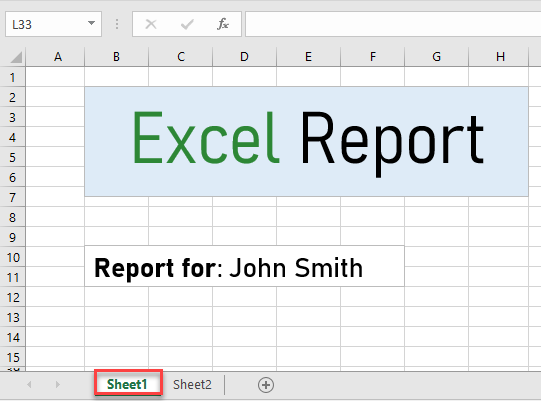
- Enter general information about the workbook in the first tab from the left. (You can add a background or pictures, depending on the workbook’s purpose.)
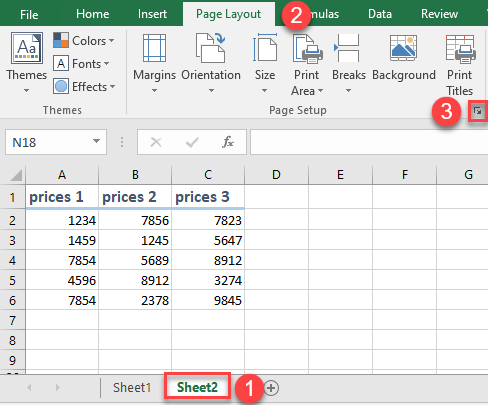
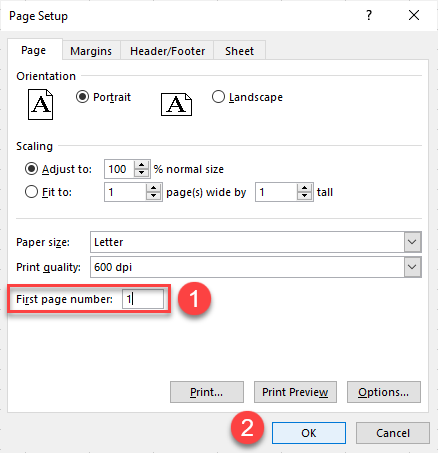
- Select the next sheet to the right of the “cover” sheet (Sheet2) and in the Ribbon, go to Page Layout and click the Page Setup icon in the lower right corner.
- This opens the Page Setup dialog box. In the First page number box, enter 1. Then press OK. Sheet2 is now considered the first page of this workbook.
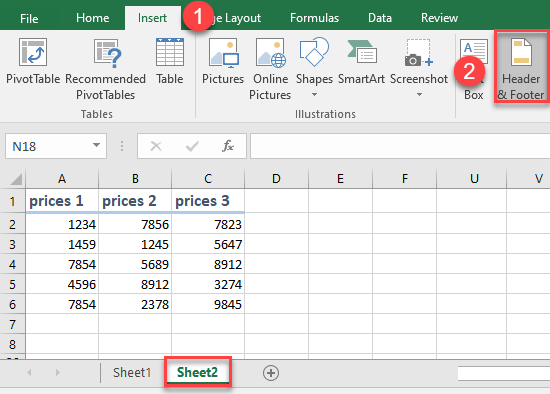
- To add page numbers, in the Ribbon, go to Insert > Header & Footer.
- Go to the Design tab and click Page Number.

- Page numbers are added. Confirm that they look how you expected.
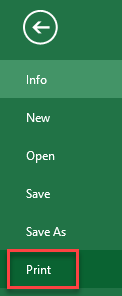
In the Ribbon, go to File > Print (or use the CTRL + P shortcut).
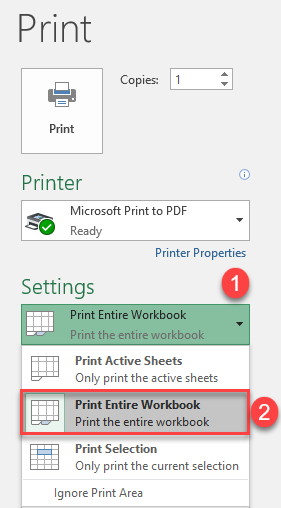
- Under Settings, click Print Active Sheets (this is chosen by default), and choose instead to Print Entire Workbook.
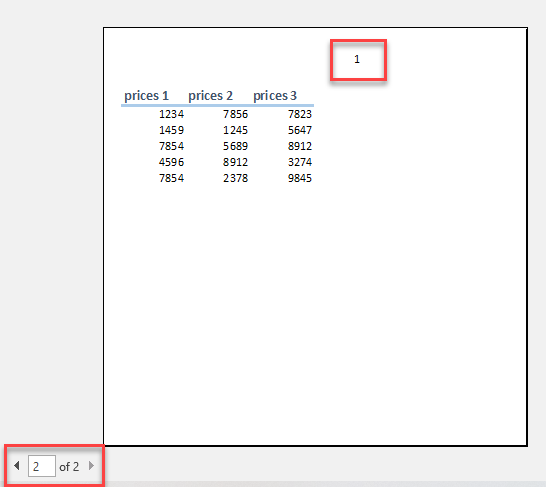
You can see that Sheet2 is now numbered as page 1, and Sheet1 is reserved as a cover page.
