How to Change a Read-Only File in Excel & Google Sheets
Written by
Reviewed by
Last updated on September 12, 2023
This tutorial demonstrates how to change a read-only file in Excel and Google Sheets.

Change a Read-Only File Without a Password
To edit a read-only file that has no password protection, once you open a file, click Edit Anyway in the yellow read-only warning.

After that, you can change the file and save all changes.
Change a Password-Protected Read-Only File
There’s an extra step when there is a password on a read-only file.
- When you open the file, type in the Password and click OK. If you don’t have the password, ask the person who reserved the file.
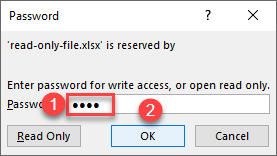
- Then click Edit Anyway. When you save your changes, you can also remove the password.
Tip: Think twice before editing a file that’s been marked as final.
Set Permissions in Google Sheets
Google Sheets uses permissions for changes instead of Read-Only mode. To add permissions, follow these steps:
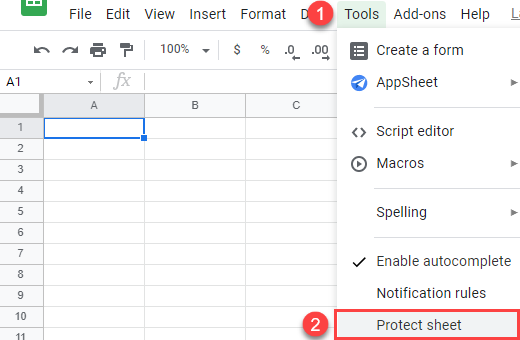
- In the Menu, go to Tools > Protect sheet.
- On the right side of the window, enter a description of the setting (e.g., Read-Only file), and click Set permissions.
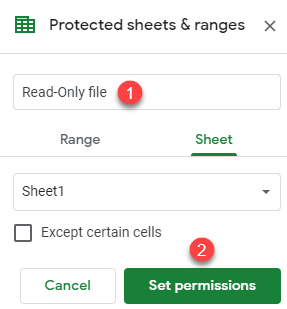
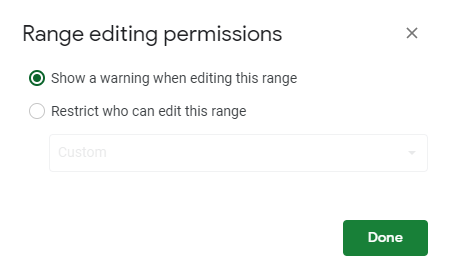
- In the next window, leave the default option (Show a warning when editing this range), and click Done. This means that every time a user tries to change the sheet, they’ll be asked to confirm whether changes should be made.
If you choose Restrict who can edit the range instead, only specified users can change the file.
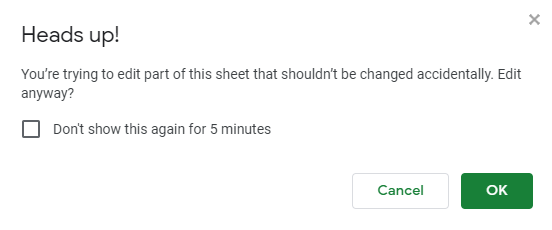
Now if you try to edit any cell in the sheet, you get the warning message in the picture below and have to click OK to proceed with changes.
