How to Change the Author Property in Excel & Google Sheets
Written by
Reviewed by
This tutorial demonstrates how to change the author property in Excel and Google Sheets.
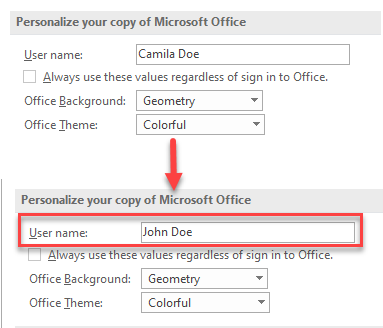
Whenever you open up a blank workbook, some document properties are created. Document properties, also known as metadata, are bits of information that describe and identify a workbook.
Change User Name
By default, the author metadata of a workbook is the name of the person who created the workbook. To change the name assigned to files you create, follow these steps:
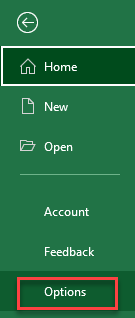
- In the Ribbon, go to File, and in the drop-down menu, click on Options.
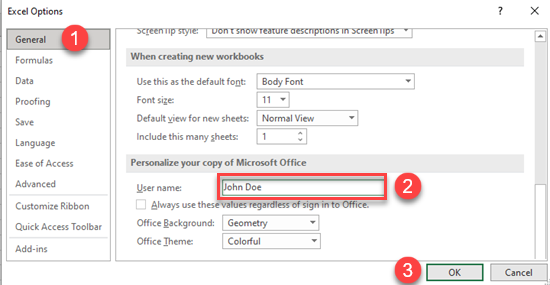
- To change your author name, click on General in the menu on the left side.
Under Personalize your copy of the Microsoft Office section, in the User name box, type the name you want as the author property on your files.
Click OK.
Note: You can also use VBA code to change the user name.
Add Workbook Author(s)
To change the author properties by adding other authors for the current workbook, follow these steps:
- In the Ribbon, go to File, and in the drop-down menu, click on Info.
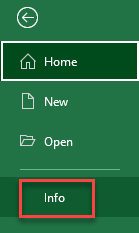
- Under the Related People section, there’s an Add an author box, and in it type the name of a new author. Then, press ENTER.
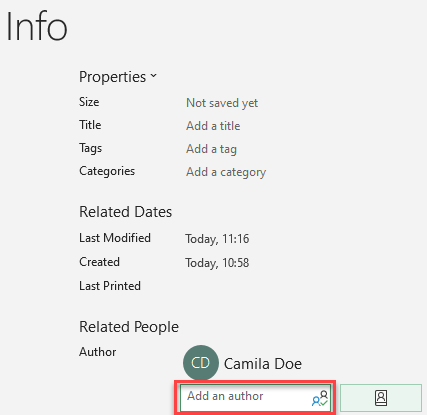
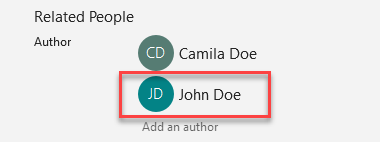
As a result, the name of a new author is added.
Change Author Name on Existing File
To change the author’s name on an existing file, follow these steps:
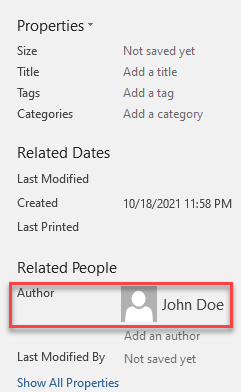
- In the Ribbon, go to File and click on Info. On the right look for Author under Related people, right-click on the author’s name, and choose Edit Property.
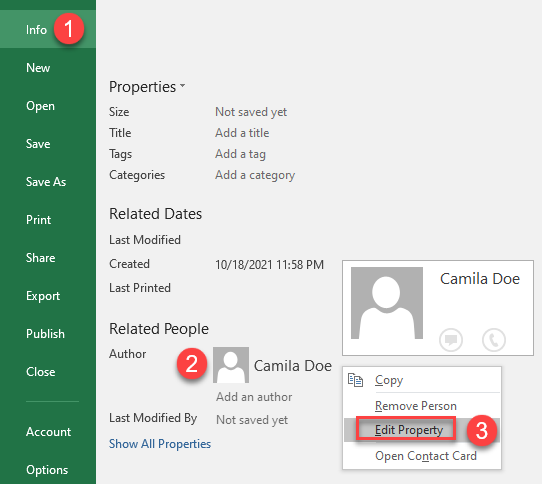
- In the Edit person dialog box enter the name of the new author and click OK.
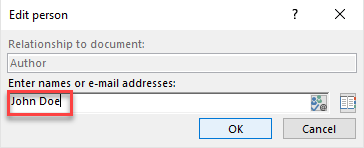
As a result, the name of the author is changed.
Change the Owner in Google Sheets
In Google Sheets, you can’t change the author, but you can change the owner of the file.
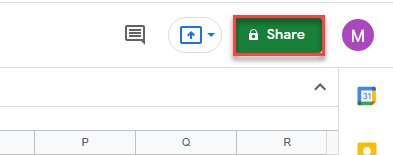
- Click on the Share button, which is placed in the top, right corner of the spreadsheet.
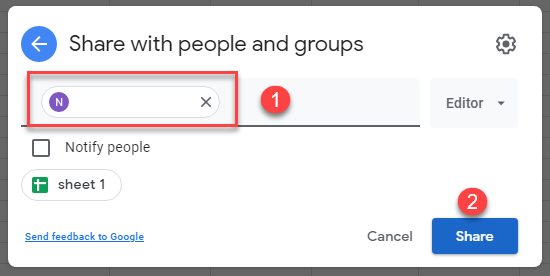
- In the Add people and groups box type the name of a new editor and click the Share button. A new editor is added.
- To change the ownership of the file, click on the arrow next to the name of the new editor, and in the drop-down menu, check the Make owner option.
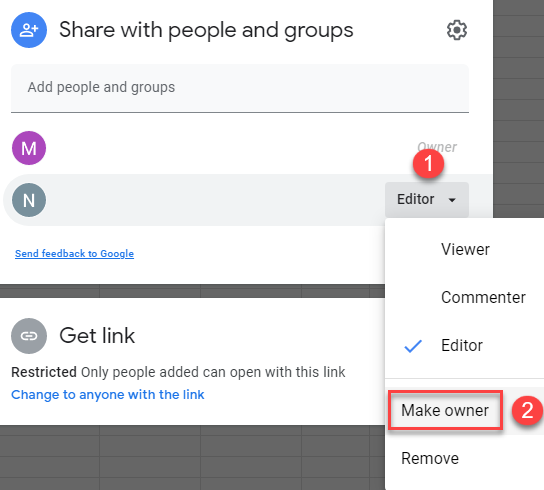
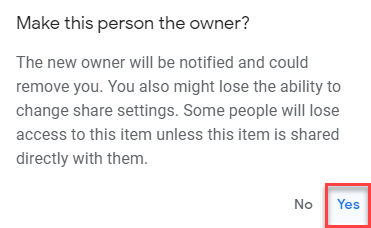
- As a final step, the confirmation window pops up, and if you are sure you want to change the owner click the Yes button.
