Center Worksheets Horizontally and Vertically in Excel & Google Sheets
Written by
Reviewed by
This tutorial demonstrates how to center worksheets horizontally and vertically in Excel and Google Sheets.
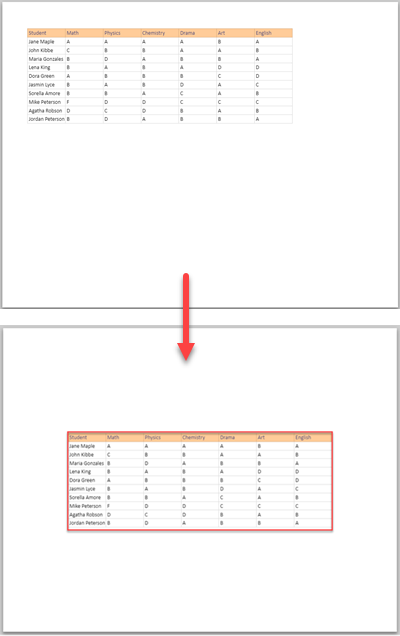
Center Worksheets Horizontally and Vertically
Center via Page Layout
- First, select the data you want to print and set the print area.
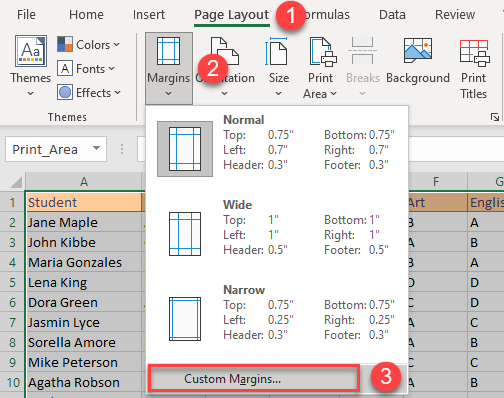
- To center the worksheet horizontally and vertically on the page, in the Ribbon, go to Page Layout > Margins > Custom Margins.
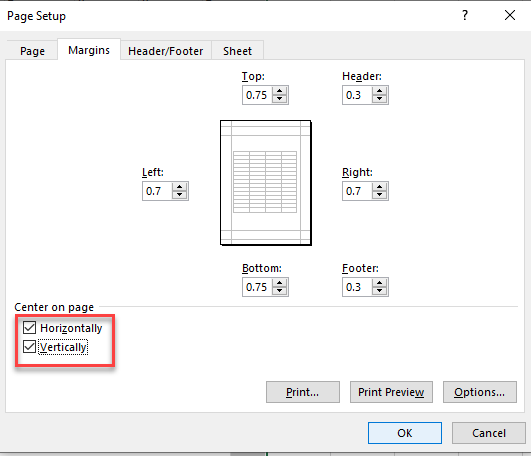
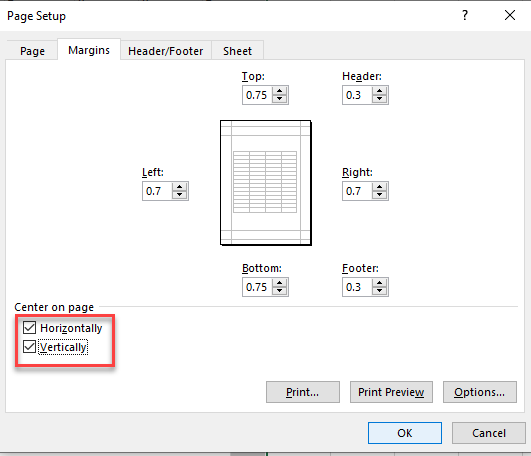
- The Page Setup window appears. Under Center on page, choose both Horizontally and Vertically.
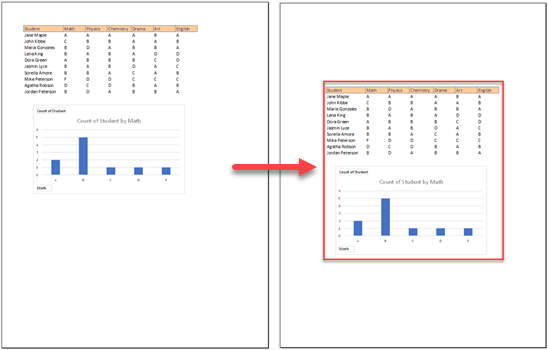
- To see the final result, in the Ribbon, go to File > Print (or use the CTRL + P shortcut).
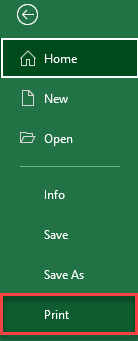
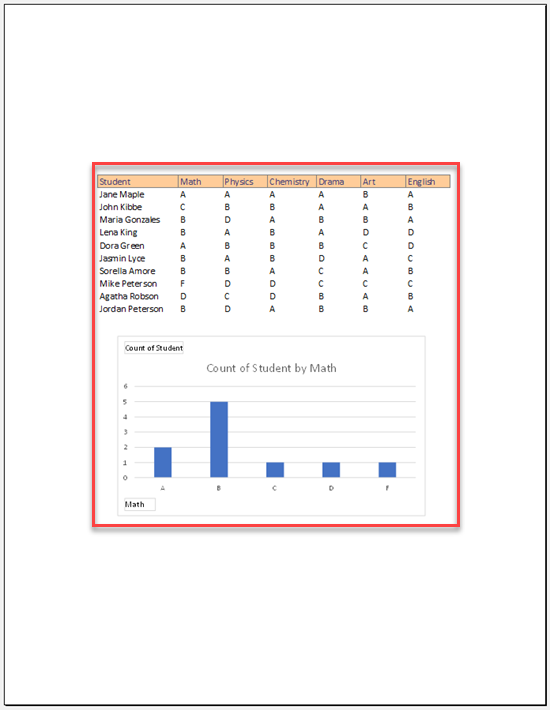
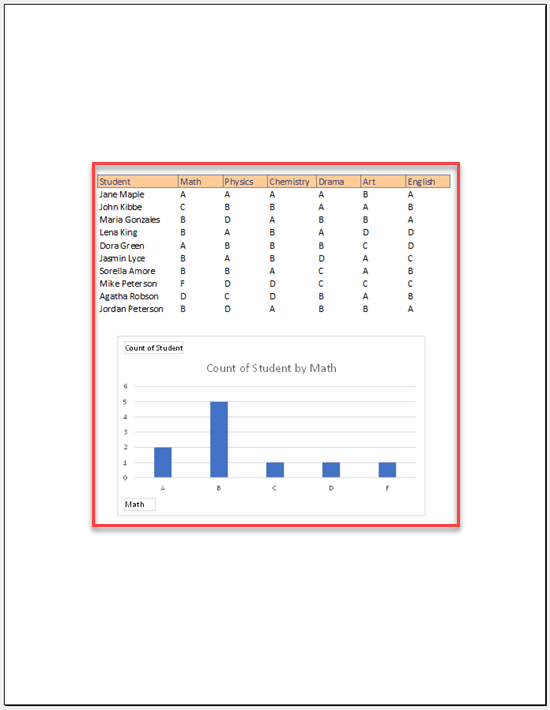
Step 4 opens Print Preview. In that view, you can see how your worksheet will look when it’s printed. As a result of the steps above, the selected print area is positioned in the center.
Center Using Print Preview
Another option to center a worksheet for printing is to start from Print Preview.
- In the Ribbon, go to File > Print.

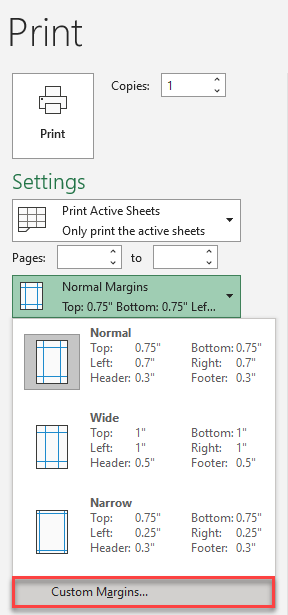
- In Print settings, click Normal Margins (this is chosen by default) and from the drop down, choose Custom Margins.
- This opens the Page Setup window. Under the Center on page section, choose both Horizontally and Vertically to center the selected print area.
As a result, the selected print area is centered on the worksheet.
Note: To apply this print layout on multiple sheets at the same time, just select all the sheets you need, then follow the steps above.
Center Worksheets in Google Sheets
Centering a worksheet horizontally and vertically in Google Sheets looks works a bit differently.
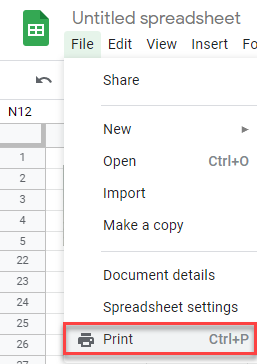
- In the Menu, go to File > Print (or use the CTRL + P shortcut).
- In Print settings, under Alignment, choose Center for both Horizontal and Vertical.
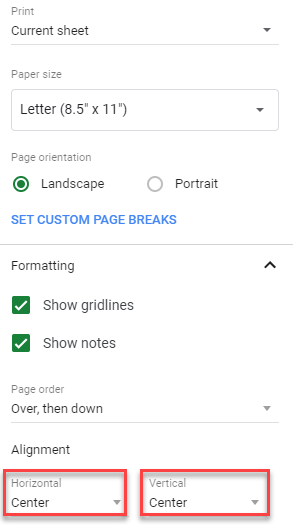
As a result, the print area is positioned in the center of the worksheet.
