Auto-Number Rows in a Column – Excel & Google Sheets
Written by
Reviewed by
This tutorial demonstrates how to auto-number rows in a column in Excel and Google Sheets.
Auto-Number Rows in a Column
There are several ways to auto-number rows in a column if you don’t want to number rows based on Excel row numbers. You can use the fill handle, ROW Function, or OFFSET Function.
Auto-Number Rows Using the Fill Handle
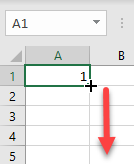
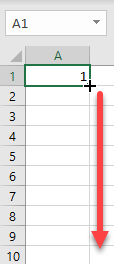
- Enter the number 1 in the first cell. Then, position the cursor in the bottom right corner of the same cell until it turns into a black cross. Drag it down to a certain row (e.g., 10).
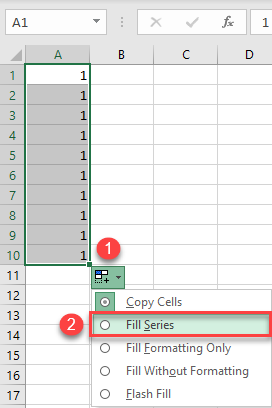
- When you drop the fill handle, click on the Auto Fill Options icon that appears and choose Fill Series.
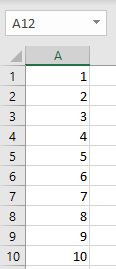
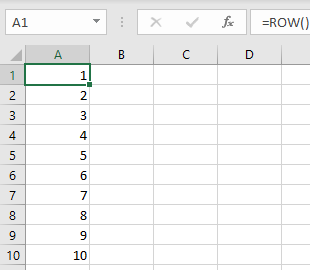
This creates a list of consecutive numbers in Column A.

Auto-Number Rows Using the ROW Function
- In cell A1, enter the formula:
=ROW()

The ROW Function returns a number of a row for a given cell.
- Position the cursor in the bottom right corner of cell A1 until it turns into a black cross. Then drag it down to a the last row you need (here, 10).
As a result, you get numbered rows in Column A.
Auto-Number Rows Using the OFFSET Function
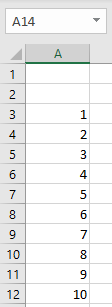
If you don’t wish to start numbering from the first row, use the OFFSET Function. Say you want to start from Row 3.
- Enter the number 1 in cell A3, and in cell A4, enter the formula:
=OFFSET(A4,-1,0)+1
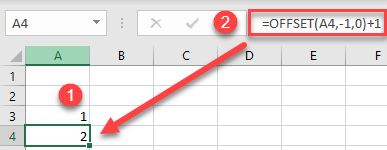
The OFFSET Function returns the value from a cell which is offset a given number of rows and columns from the selected cell. In this case, you take the value from the cell one row above (-1) and add 1 to increase the number.
- Position the cursor in the bottom right corner of cell A1 until it turns into a black cross. Then drag it down to a certain row (12, for example).
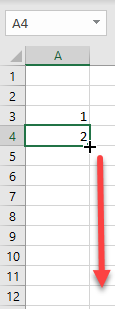
The auto-numbering now starts from Row 3.
Auto-Number in Google Sheets
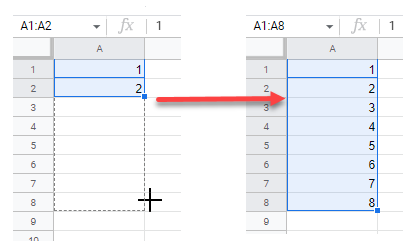
In Google Sheets, you can use all three methods above to auto-number rows in a column. However, when using the fill handle, you need to enter at least the first two numbers for Google Sheets to recognize the pattern.
